
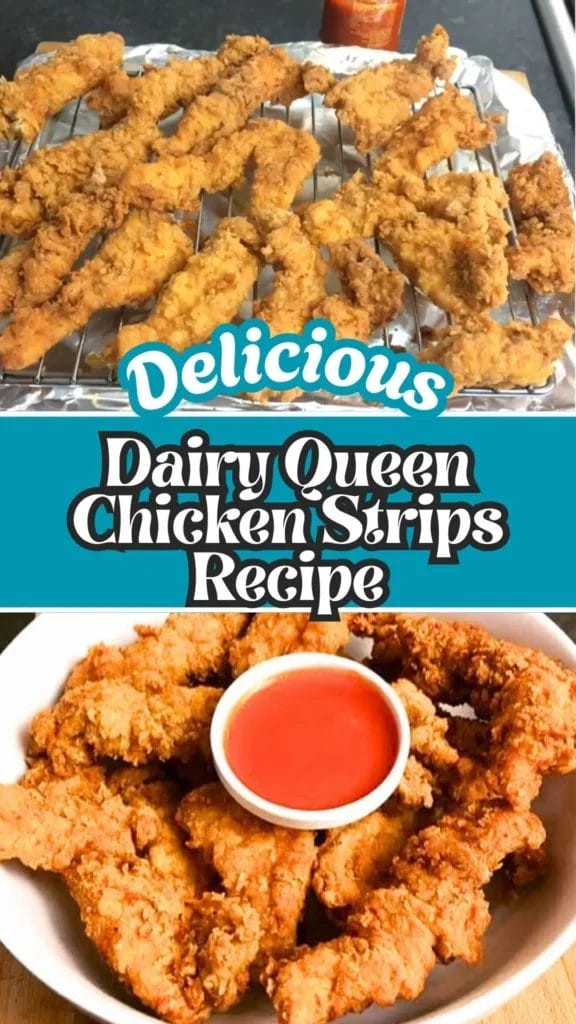
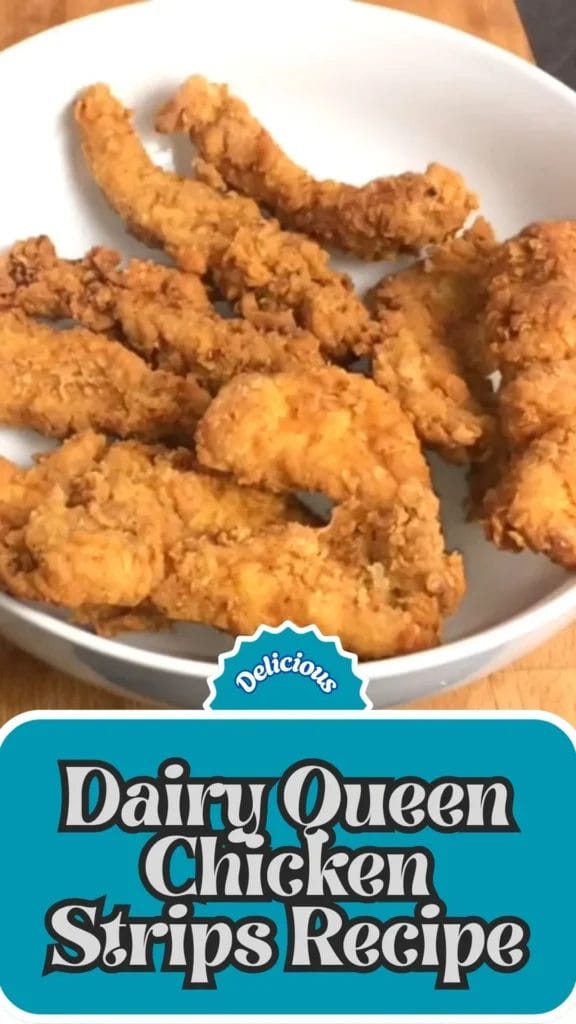
Craving that crispy, golden goodness of Dairy Queen chicken strips without heading to the drive-thru? You’re not alone! These juicy chicken tenders have become one of Dairy Queen’s most popular menu items – tender on the inside, crunchy on the outside, and perfectly seasoned.
In this copycat Dairy Queen chicken strips recipe, we’ll show you how to recreate that signature flavor and texture right in your own kitchen. Whether you call them Dairy Queen chicken tenders or strips, this easy recipe will satisfy your fast-food cravings using simple ingredients you already have at home.
Get ready for a recipe that delivers the same crispy coating, juicy chicken, and classic flavor – all made from scratch.
What Makes Dairy Queen Chicken Strips So Popular?
There’s something special about Dairy Queen’s chicken strips – they strike the perfect balance between a light, crunchy breading and juicy white meat chicken.
Here’s why people love them:
- Texture perfection: A crispy, golden crust that doesn’t fall apart.
- Real chicken: 100% tenderloin or breast meat, never processed.
- Mild seasoning: A blend of salt, pepper, and paprika gives that subtle but addictive flavor.
Their versatility also makes them a fan favorite – they pair beautifully with fries, toast, and DQ’s famous country gravy.
Ingredients You’ll Need for Copycat Dairy Queen Chicken Strips
To recreate the crispy, flavorful Dairy Queen chicken strips at home, gather these simple ingredients. Everything is easy to find and perfectly measured for about 4 servings (10–12 strips).
Main Ingredients
- 1 lb (450 g) boneless, skinless chicken breasts or tenderloins
- 1 cup (240 ml) buttermilk (for marinating)
- 1 teaspoon salt
- ½ teaspoon black pepper
- ½ teaspoon paprika (for subtle color and flavor)
Breading & Coating
- 1 cup (125 g) all-purpose flour
- 1 teaspoon garlic powder
- ½ teaspoon onion powder
- ½ teaspoon paprika
- ½ teaspoon salt
- ¼ teaspoon ground black pepper
- 2 large eggs
- ½ cup (120 ml) buttermilk (for the egg wash)
- 1 cup (100 g) breadcrumbs (panko for extra crispiness)
For Frying
- 2–3 cups (480–720 ml) vegetable oil or canola oil (for deep frying)
Optional Seasoning & Serving
- 1 teaspoon cayenne pepper (for a spicy Dairy Queen chicken tenders version)
- Dipping sauces: country gravy, ranch, honey mustard, or BBQ
- Sides: fries, coleslaw, or buttered Texas toast
Kitchen Utensils Required
- Mixing bowls (for marinating and coating)
- Whisk or fork (for egg wash)
- Tongs (for dipping and frying)
- Deep frying pan or air fryer
- Wire rack or paper towels (for draining excess oil)
- Meat thermometer (optional, for checking doneness – 165°F / 74°C)
Preparation & Cooking Details
Preparation Time: 15 minutes
Marinating Time: 30 minutes (or overnight for best flavor)
Cooking Time: 15 minutes
Total Time: 1 hour (including marination)
Servings: 4 people (10–12 strips)
How to Make Dairy Queen Chicken Strips (Copycat Recipe)
Step 1: Marinate the Chicken
Cut 1 lb chicken breast or tenderloin into strips. In a bowl, mix 1 cup buttermilk, ½ tsp salt, ¼ tsp paprika, and ¼ tsp black pepper. Add chicken and marinate for at least 30 minutes (overnight for best flavor). This makes the chicken tender and juicy – just like Dairy Queen chicken tenders.
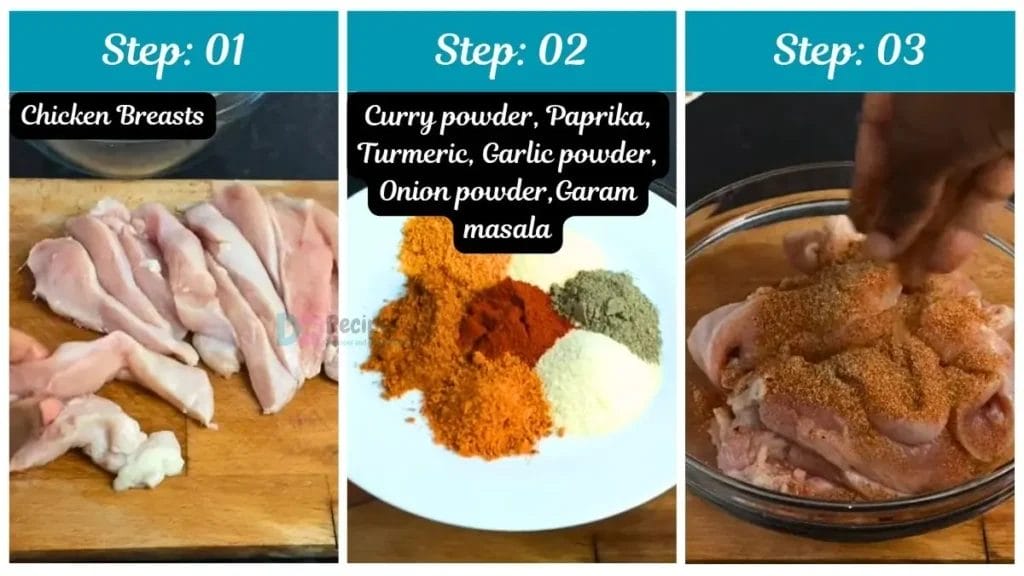
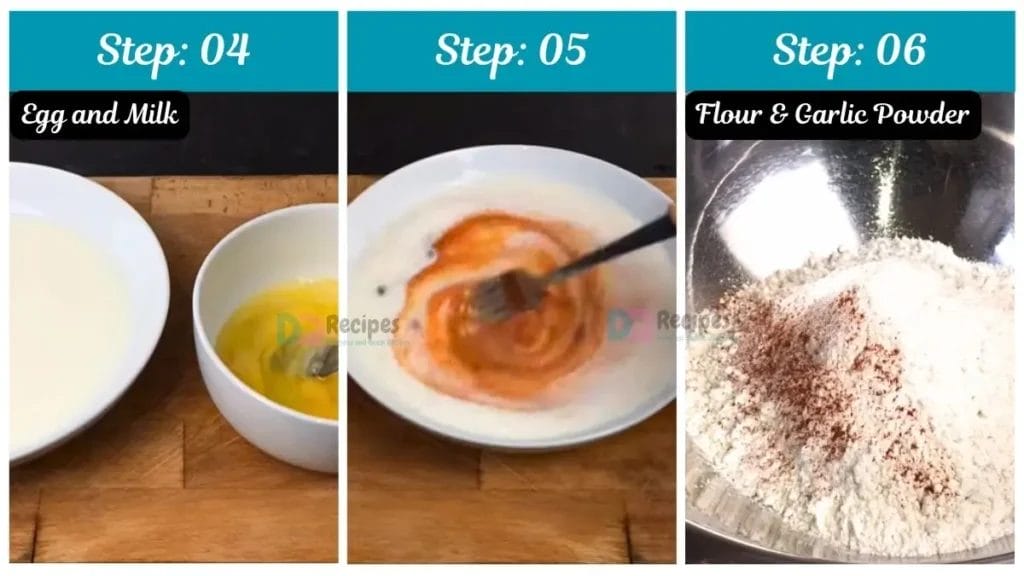
Step 2: Prepare the Coating
In one bowl, whisk 1 cup flour, 1 tsp garlic powder, ½ tsp onion powder, ½ tsp paprika, ½ tsp salt, and ¼ tsp pepper. In another bowl, whisk 2 eggs with ½ cup buttermilk. Place 1 cup breadcrumbs in a third bowl.
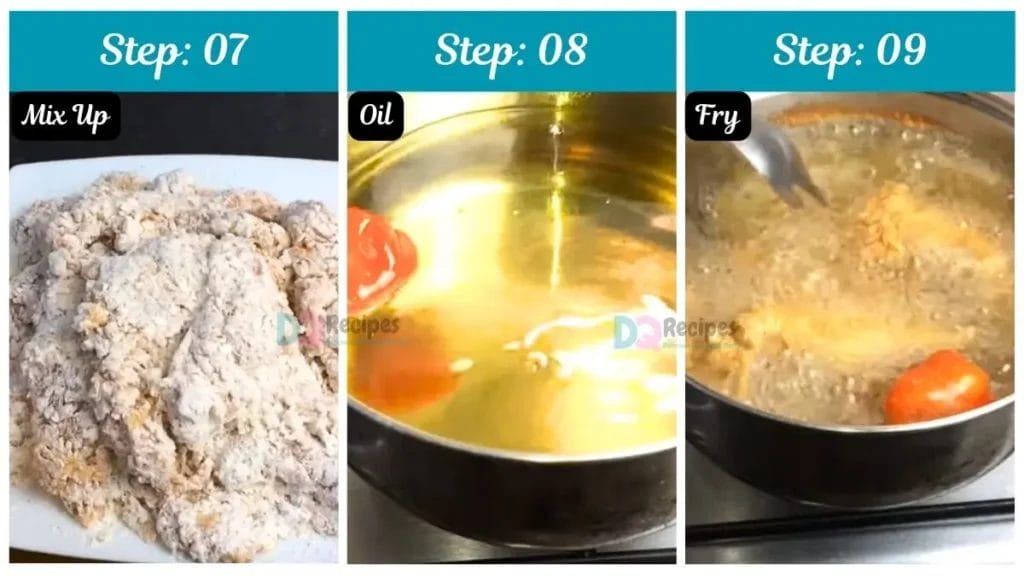
Step 3: Coat the Chicken
Remove strips from marinade, dip in flour, then egg wash, and finally breadcrumbs. For that signature Dairy Queen chicken strip crunch, repeat the process once more for a double coating.
Step 4: Fry or Air Fry
- Fry: Heat oil to 350°F (175°C) and cook for 5–6 minutes, until golden brown.
- Air Fry: Cook at 375°F (190°C) for 12–14 minutes, flipping halfway.
Step 5: Serve and Enjoy
Let the strips rest for a few minutes. Serve warm with country gravy, honey mustard, or ranch – and enjoy the crispy, flavorful taste of homemade Dairy Queen chicken tenders!
Fry or Air Fry the Chicken
Now comes the best part – cooking your Dairy Queen-style chicken strips to golden perfection.
Frying Method (Classic Dairy Queen Style)
- Heat oil in a deep skillet or fryer to 350°F (175°C).
- Carefully add chicken strips in small batches (don’t overcrowd).
- Fry for 5–6 minutes, turning occasionally, until they’re golden brown and crispy.
- Place cooked strips on a wire rack or paper towel to remove excess oil.
You’ll notice that irresistible Dairy Queen chicken tenders crunch as soon as they cool slightly.
Air Fryer Method (Healthier Option)
- Preheat air fryer to 375°F (190°C).
- Spray the basket lightly with oil.
- Arrange coated chicken strips in a single layer.
- Air fry for 12–14 minutes, flipping halfway through, until crispy and cooked through.
Pro Tip: Spraying the coated chicken with a little oil before air frying helps mimic that Dairy Queen fried texture while cutting down calories.
Serve Like Dairy Queen – Dipping Sauces & Sides
No Dairy Queen chicken strips meal is complete without the perfect dips and sides.
Signature Dips:
- Country Gravy: The classic DQ pairing – creamy, peppery, and rich.
- Honey Mustard: Sweet and tangy with a hint of Dijon.
- Ranch or BBQ Sauce: Both popular with Dairy Queen chicken tenders.
Best Side Dishes:
- Crispy French Fries – just like the DQ basket combo
- Texas Toast – buttery and soft
- Coleslaw or Salad – for a balanced plate
You can easily recreate the full Dairy Queen chicken basket experience at home with these simple sides.
Tips for Perfect Dairy Queen Chicken Tenders Every Time
Even though this recipe is simple, a few expert tricks will ensure restaurant-quality results every time.
1. Marinate longer: Letting chicken soak in buttermilk overnight guarantees tenderness.
2. Double coating: Dip twice in flour and egg for extra crunch.
3. Use a wire rack: Keeps the coating intact and prevents sogginess.
4. Maintain oil temperature: Too low = greasy coating; too high = burnt crust.
5. Rest after frying: Let chicken sit for 5 minutes before serving to retain crispiness.
These small steps make your copycat Dairy Queen chicken strips taste just like the original (maybe even better).
Dairy Queen Chicken Strips Nutritional Info (Homemade Copycat)
Wondering how your homemade version stacks up nutritionally? Here’s a general idea (per 3-piece serving):
| Nutrient | Homemade Version | Original DQ Chicken Strips |
|---|---|---|
| Calories | 360 | 410 |
| Protein | 28g | 30g |
| Fat | 18g | 21g |
| Carbohydrates | 20g | 24g |
Air fryer version can cut total fat by up to 35%, making it a healthier twist on your favorite Dairy Queen chicken tenders.
How to Store and Reheat Dairy Queen Chicken Strips
After cooking, let your Dairy Queen chicken strips cool completely before storing. Place them in an airtight container or ziplock bag and store in the refrigerator for up to 3 days. For longer storage, you can freeze them – arrange the strips in a single layer on a baking tray first to prevent sticking, then transfer to a freezer-safe bag. Frozen strips can last up to 2 months while retaining their flavor and texture.
When it’s time to enjoy leftovers, the key is to reheat without losing the crispiness. Avoid the microwave if possible, as it tends to make the coating soggy. Instead, use an air fryer at 350°F (175°C) for 3–4 minutes or an oven at 375°F (190°C) for 8–10 minutes on a wire rack. If you prefer, you can quickly warm them in a skillet over medium heat with a few drops of oil for 2–3 minutes per side. Reheating this way ensures your homemade Dairy Queen chicken tenders stay crispy on the outside and juicy on the inside, just like when they were freshly made.

Dairy Queen Chicken Strips Recipe
Craving that crispy, golden goodness of Dairy Queen chicken strips without heading to the drive-thru? You’re not alone! These juicy chicken tenders have become one of Dairy Queen’s most popular menu items – tender on the inside, crunchy on the outside, and perfectly seasoned.
Ingredients
- 1 lb (450 g) boneless, skinless chicken breasts or tenderloins
- 1 cup (240 ml) buttermilk (for marinating)
- 1 teaspoon salt
- ½ teaspoon black pepper
- ½ teaspoon paprika (for subtle color and flavor)
- 1 cup (125 g) all-purpose flour
- 1 teaspoon garlic powder
- ½ teaspoon onion powder
- ½ teaspoon paprika
- ½ teaspoon salt
- ¼ teaspoon ground black pepper
- 2 large eggs
- ½ cup (120 ml) buttermilk (for the egg wash)
- 1 cup (100 g) breadcrumbs (panko for extra crispiness)
- 2–3 cups (480–720 ml) vegetable oil or canola oil (for deep frying)
Instructions
Step 1: Marinate the Chicken
Cut 1 lb chicken breast or tenderloin into strips. In a bowl, mix 1 cup buttermilk, ½ tsp salt, ¼ tsp paprika, and ¼ tsp black pepper. Add chicken and marinate for at least 30 minutes (overnight for best flavor). This makes the chicken tender and juicy – just like Dairy Queen chicken tenders.
Step 2: Prepare the Coating
In one bowl, whisk 1 cup flour, 1 tsp garlic powder, ½ tsp onion powder, ½ tsp paprika, ½ tsp salt, and ¼ tsp pepper. In another bowl, whisk 2 eggs with ½ cup buttermilk. Place 1 cup breadcrumbs in a third bowl.
Step 3: Coat the Chicken
Remove strips from marinade, dip in flour, then egg wash, and finally breadcrumbs. For that signature Dairy Queen chicken strip crunch, repeat the process once more for a double coating.
Step 4: Fry or Air Fry
Fry: Heat oil to 350°F (175°C) and cook for 5–6 minutes, until golden brown.
Air Fry: Cook at 375°F (190°C) for 12–14 minutes, flipping halfway.
Step 5: Serve and Enjoy
Let the strips rest for a few minutes. Serve warm with country gravy, honey mustard, or ranch – and enjoy the crispy, flavorful taste of homemade Dairy Queen chicken tenders!
Notes
After cooking, let your Dairy Queen chicken strips cool completely before storing. Place them in an airtight container or ziplock bag and store in the refrigerator for up to 3 days. For longer storage, you can freeze them – arrange the strips in a single layer on a baking tray first to prevent sticking, then transfer to a freezer-safe bag. Frozen strips can last up to 2 months while retaining their flavor and texture.
When it’s time to enjoy leftovers, the key is to reheat without losing the crispiness. Avoid the microwave if possible, as it tends to make the coating soggy. Instead, use an air fryer at 350°F (175°C) for 3–4 minutes or an oven at 375°F (190°C) for 8–10 minutes on a wire rack. If you prefer, you can quickly warm them in a skillet over medium heat with a few drops of oil for 2–3 minutes per side. Reheating this way ensures your homemade Dairy Queen chicken tenders stay crispy on the outside and juicy on the inside, just like when they were freshly made.
Nutrition Information:
Yield: 4 Serving Size: 1Amount Per Serving: Calories: 500
FAQs About Dairy Queen Chicken Strips Recipe
1. What are the ingredients in Dairy Queen chicken strips?
From our experience recreating this recipe at home, Dairy Queen chicken strips are made from 100% real white meat chicken, coated in a lightly seasoned flour and breadcrumb mixture. The main flavors come from paprika, garlic, and a touch of black pepper. When fried or air-fried, the coating turns beautifully golden and crispy – just like the original DQ chicken strips.
2. Why are Dairy Queen chicken strips so good?
We’ve tested several versions, and the secret lies in the buttermilk marinade and double coating technique. The buttermilk keeps the chicken juicy, while two layers of flour and breadcrumbs give it that signature crunch. Also, DQ’s seasoning is mild but perfectly balanced – just enough to enhance the chicken’s natural flavor without overpowering it.
3. What is DQ chicken made of?
Dairy Queen uses whole pieces of chicken breast tenderloin, not processed meat. That’s why their chicken strips (or Dairy Queen chicken tenders) have that distinct, meaty texture. In our copycat recipe, we use the same – boneless, skinless chicken breasts sliced into strips and marinated for tenderness.
4. What are the ingredients in Dairy Queen chicken sandwich?
While this recipe focuses on DQ chicken strips, we’ve tried their chicken sandwich too. It’s made from the same crispy chicken fillet used in the strips – seasoned flour coating, fried until golden, then served on a toasted bun with lettuce, mayo, and pickles. You can easily use your homemade Dairy Queen chicken strips to build a sandwich that tastes just like the original!
5. Can I make Dairy Queen chicken strips in an air fryer?
Absolutely! We’ve tried both frying and air frying – and the air fryer works surprisingly well. Preheat it to 375°F (190°C) and cook the coated strips for 12–14 minutes, flipping halfway. A light oil spray helps achieve that DQ-style crunch without all the deep frying.
6. How can I make my chicken strips taste just like Dairy Queen’s?
From our kitchen tests, the key is to marinate in buttermilk for at least 30 minutes and to double dip in flour and egg wash. Don’t skip the resting time before frying – letting the coated chicken sit for a few minutes helps the crust adhere better and turn crispier, just like the real Dairy Queen chicken tenders.
7. Can I bake Dairy Queen chicken strips instead of frying?
Yes, we’ve baked them when we wanted a lighter version. Arrange the coated strips on a wire rack over a baking sheet, spray with oil, and bake at 400°F (200°C) for 20–22 minutes. They won’t be quite as crunchy as fried, but still delicious and golden brown.
8. What sauces go best with Dairy Queen chicken strips?
We’ve tested plenty, and the best matches are country gravy, ranch, honey mustard, and BBQ sauce. If you want the full DQ experience, go for their classic peppered gravy – it’s the perfect match for crispy, savory chicken tenders.
9. How do you keep chicken strips crispy after cooking?
From trial and error, we’ve learned to place cooked chicken strips on a wire rack, not paper towels – that keeps steam from softening the coating. Also, if you need to reheat them, pop them in the air fryer for 3–4 minutes at 350°F (175°C) for that freshly fried crunch.
10. Can I freeze homemade Dairy Queen chicken strips?
Yes! After frying, let the strips cool completely, then freeze them in a single layer on a tray. Once frozen, transfer to a freezer bag. When you’re ready to eat, reheat in the oven or air fryer – they stay crispy and taste just like fresh Dairy Queen chicken tenders.
You don’t need to visit Dairy Queen to enjoy their famous chicken strips. With a few simple ingredients and a bit of time, you can make crispy, juicy Dairy Queen chicken tenders at home that taste just like the real deal.
Serve them with your favorite sauces, share with family, and enjoy a meal that’s comforting, budget-friendly, and packed with flavor.
Whether you fry, bake, or air fry them – this Dairy Queen chicken strips recipe will bring that classic DQ magic to your table every time.
We’d love to hear how this recipe turns out for you! Give it a try, then drop a comment below to share your thoughts and tips with us.
You can also follow us on Pinterest, and YouTube for more delicious updates and kitchen inspiration. Your feedback and support mean the world to us!
4 comments